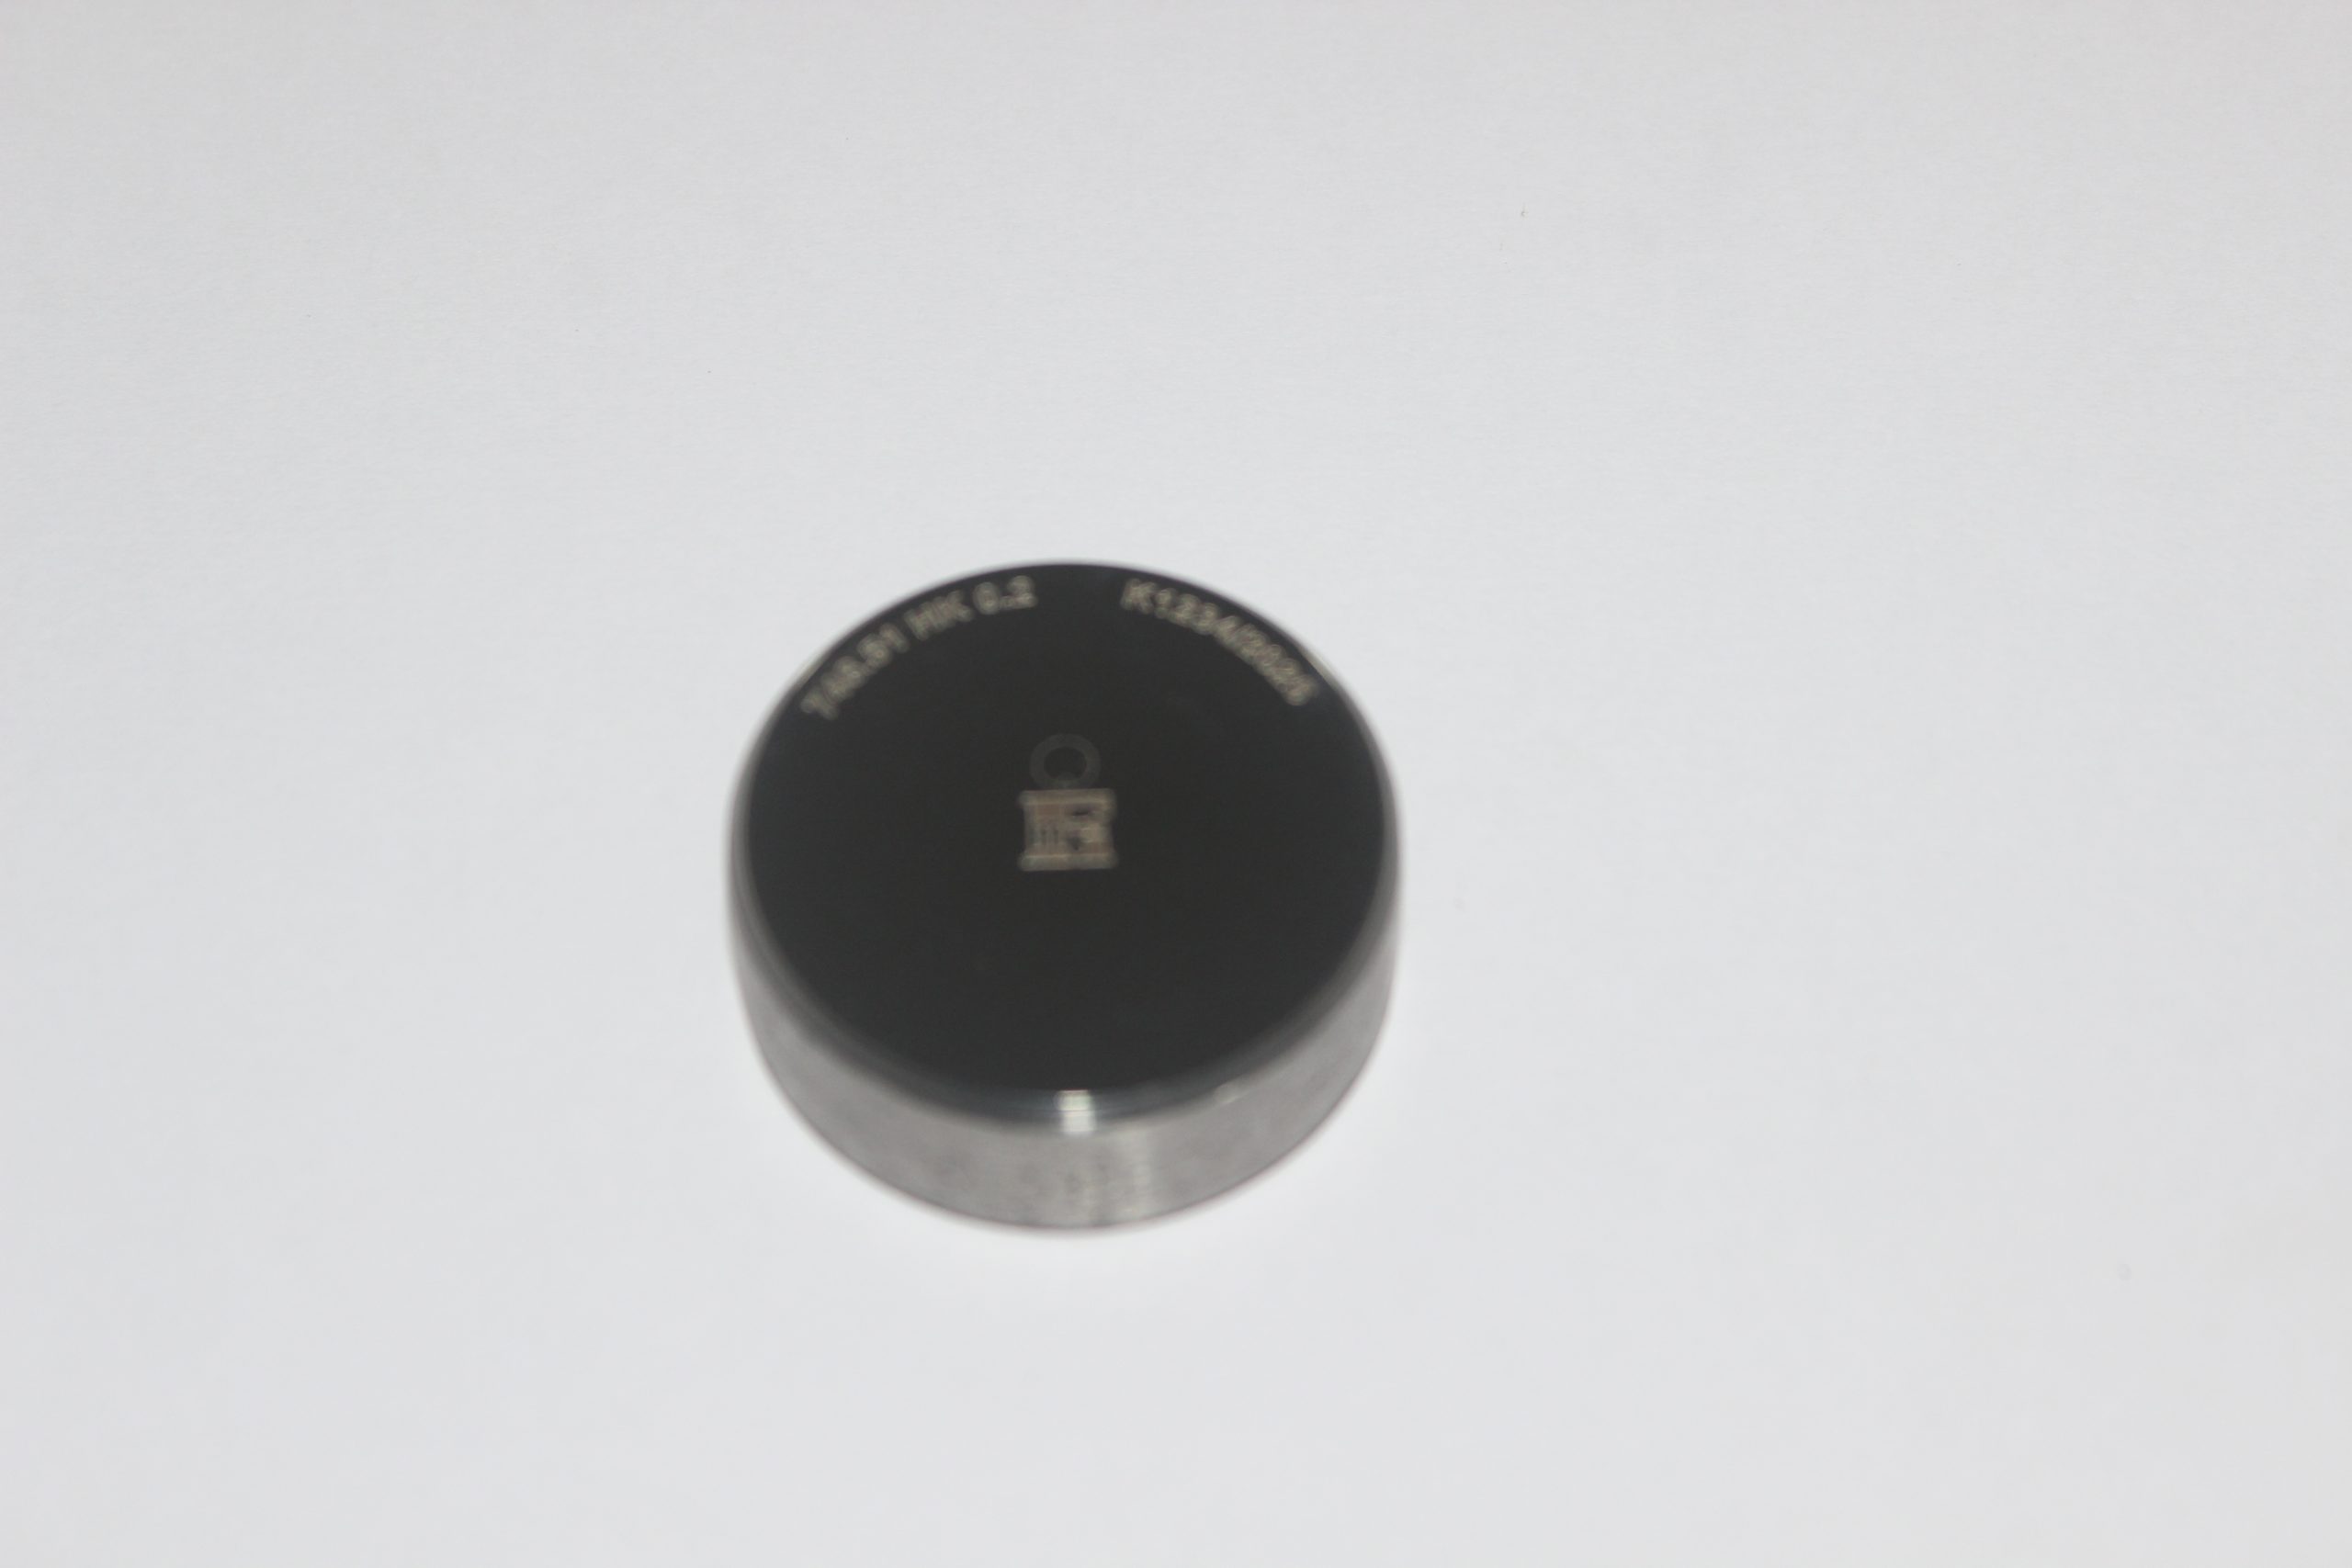
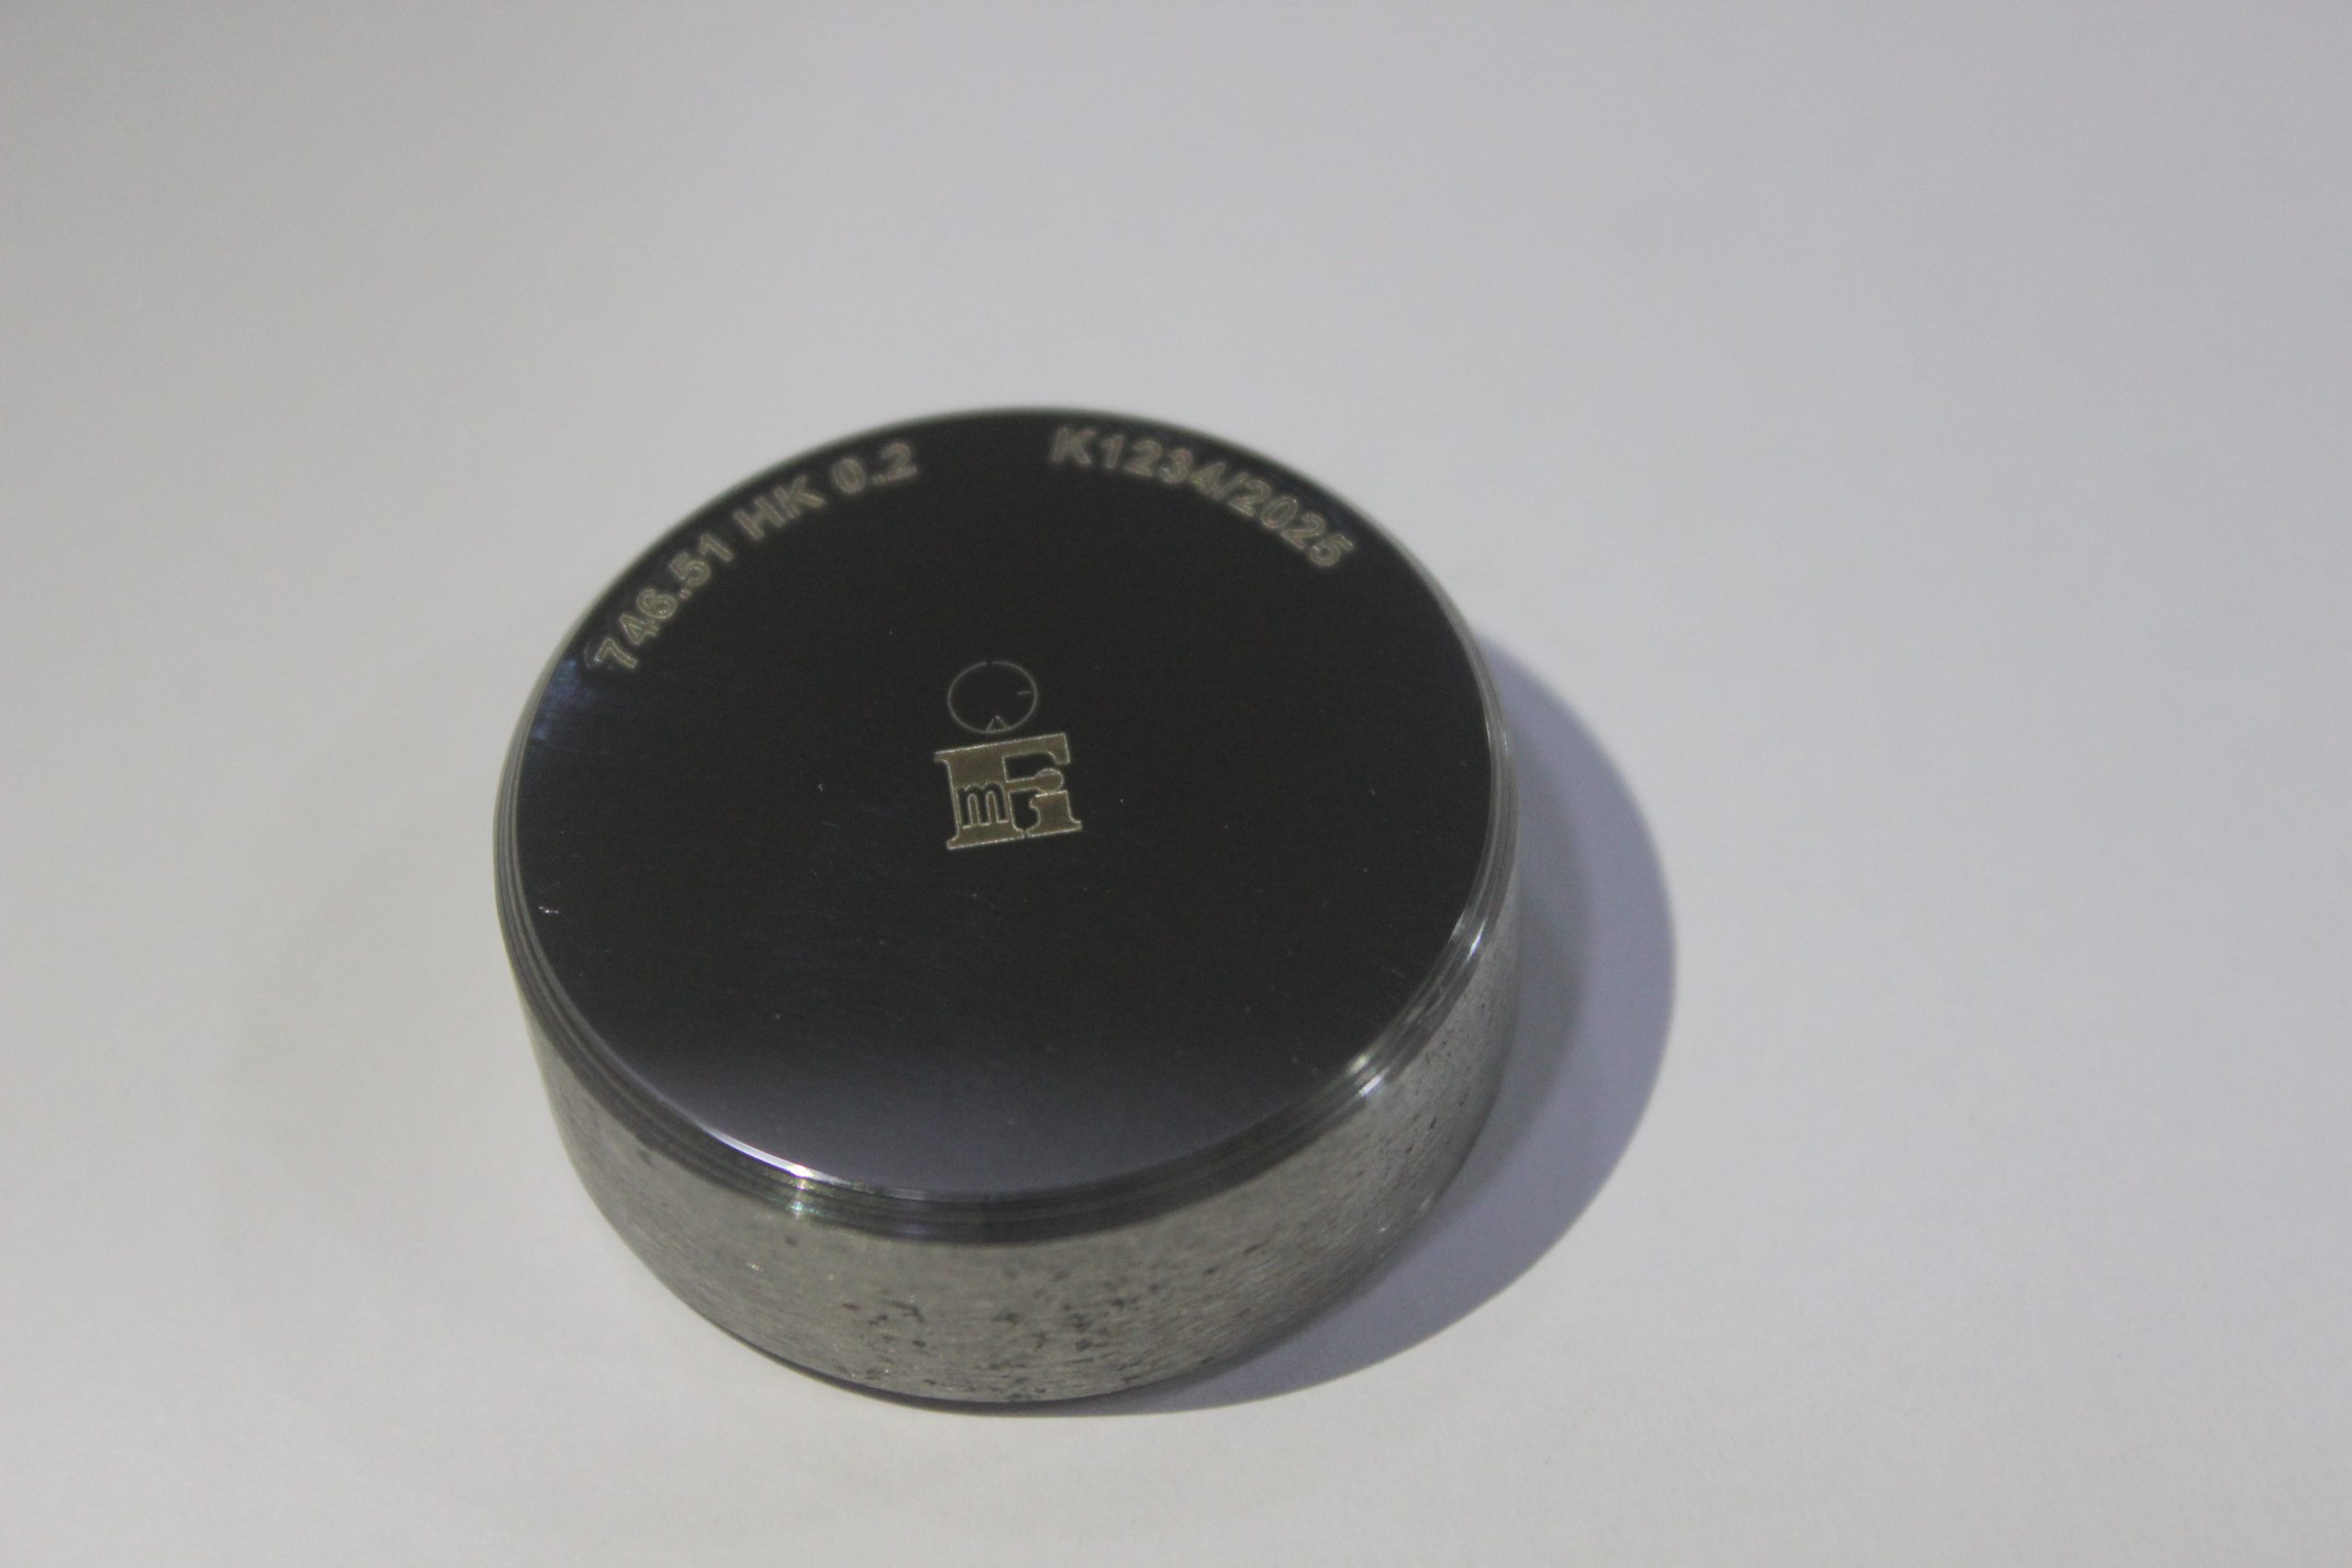
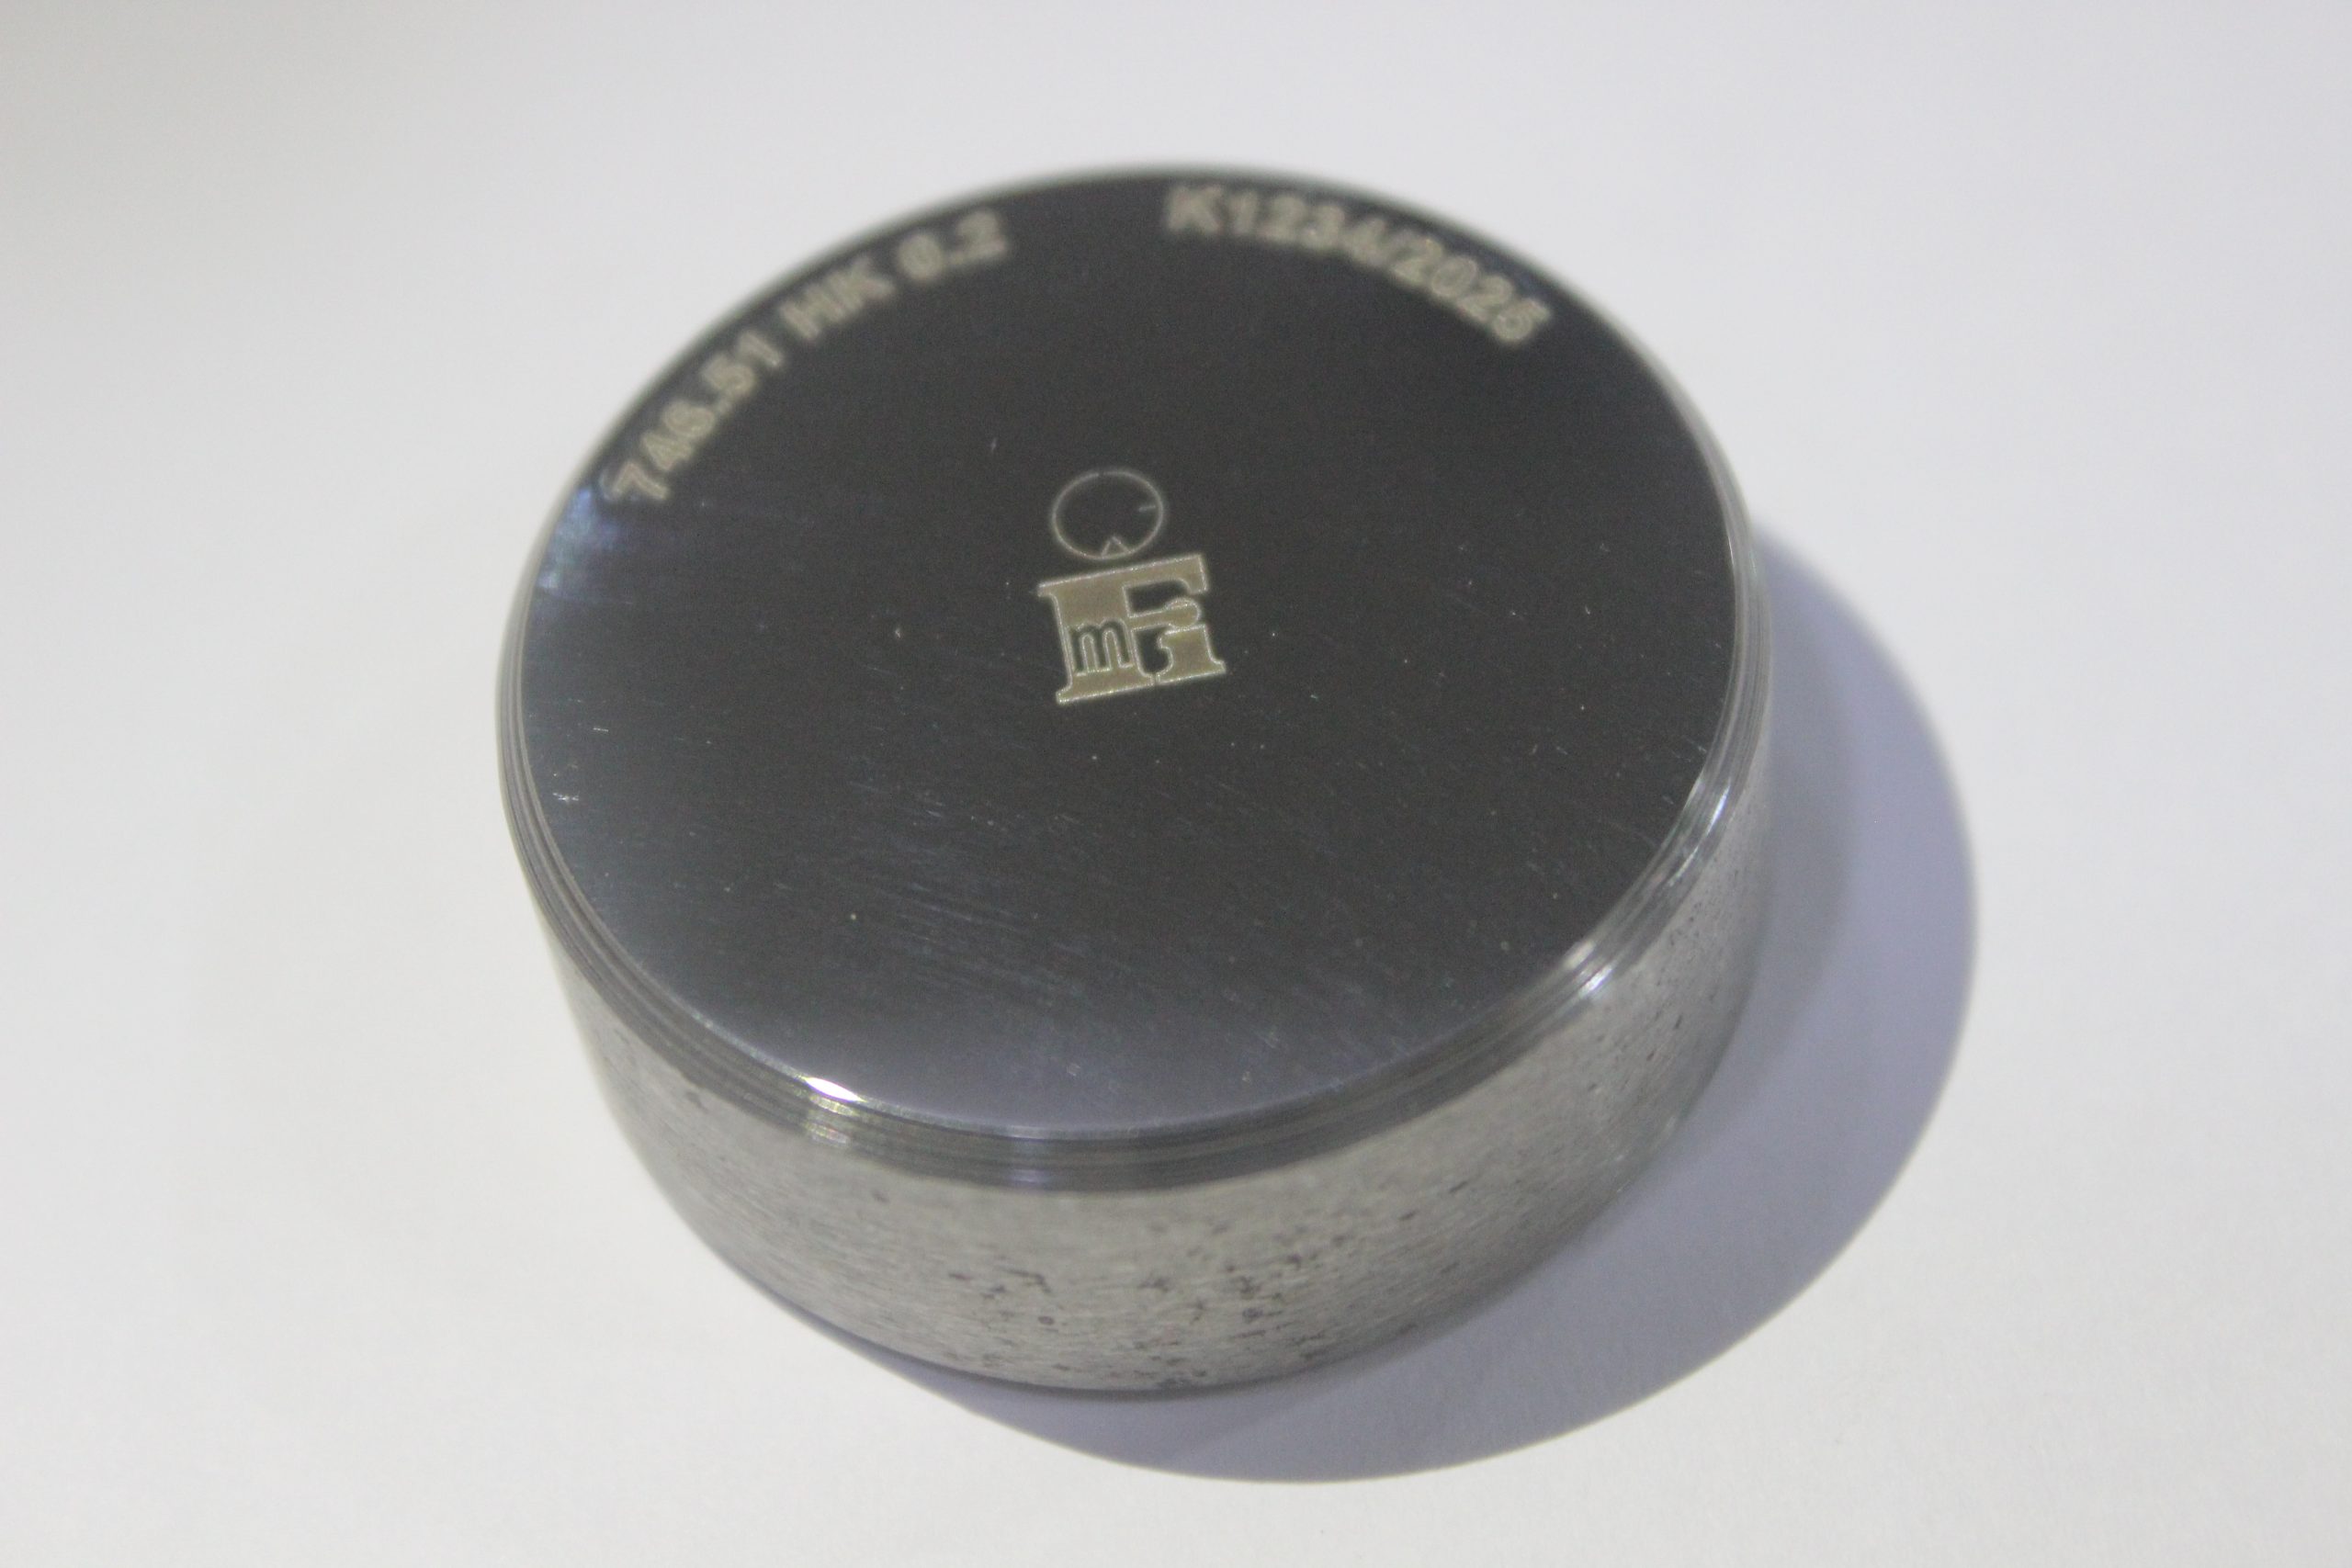
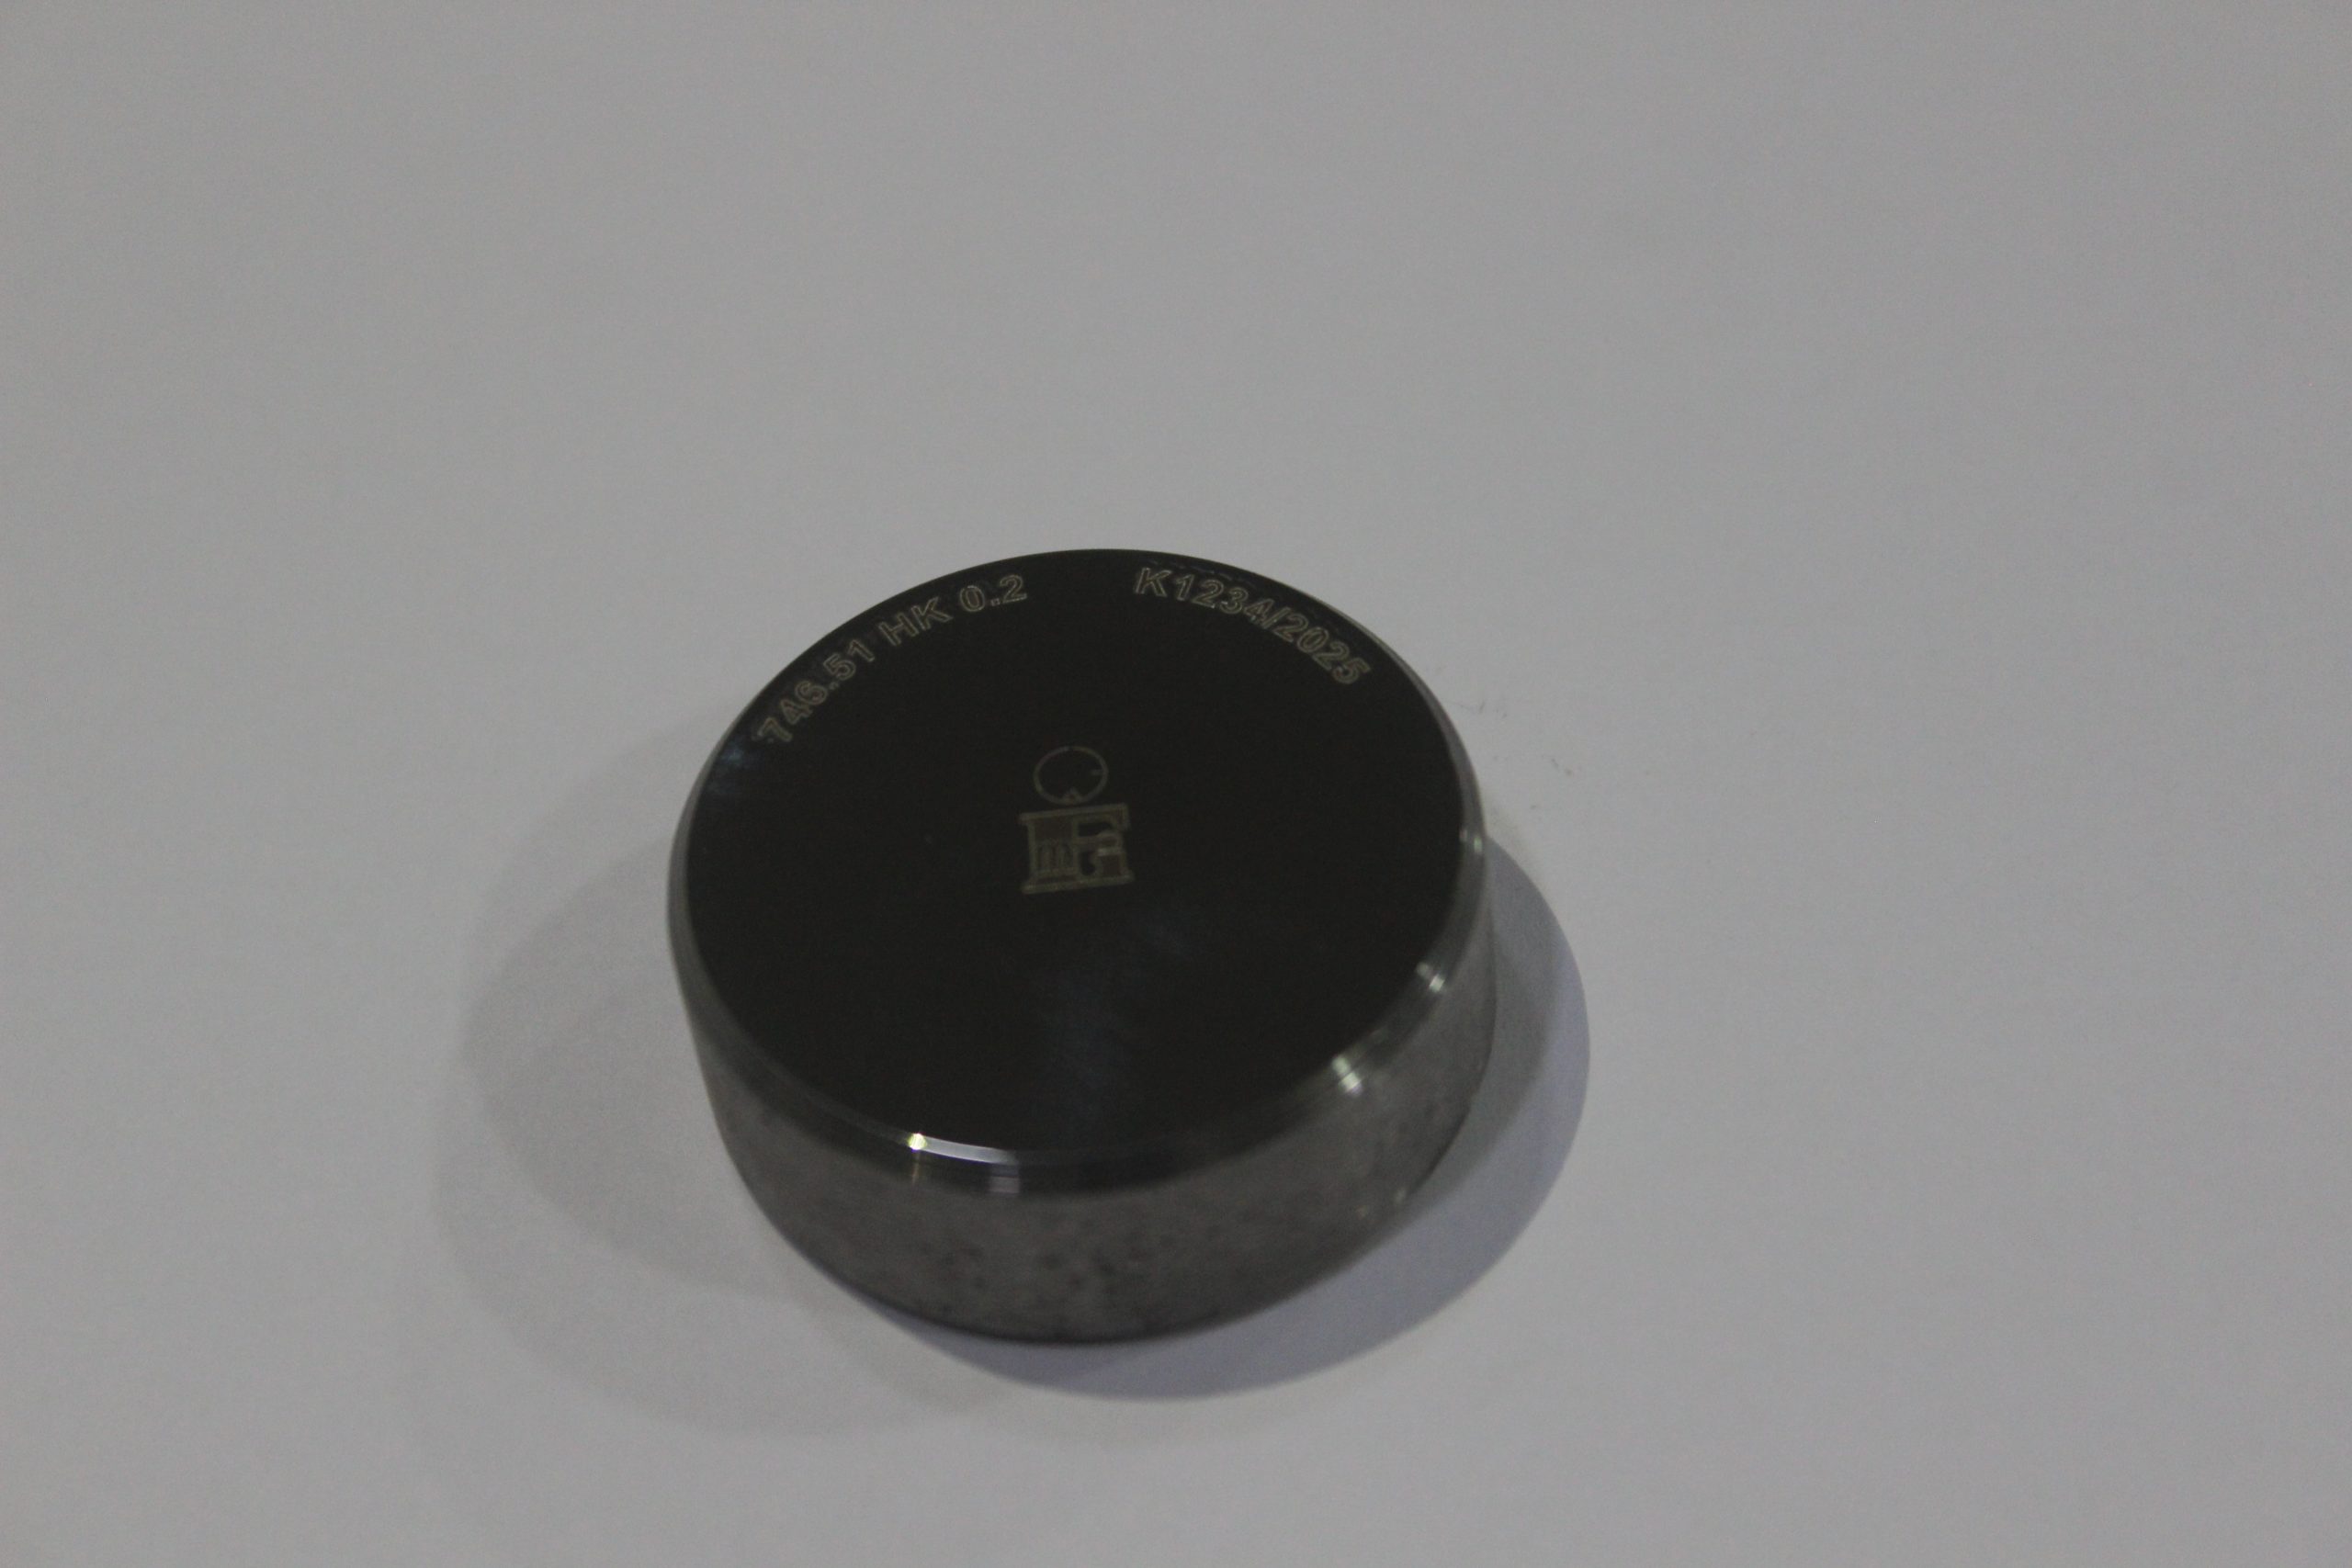
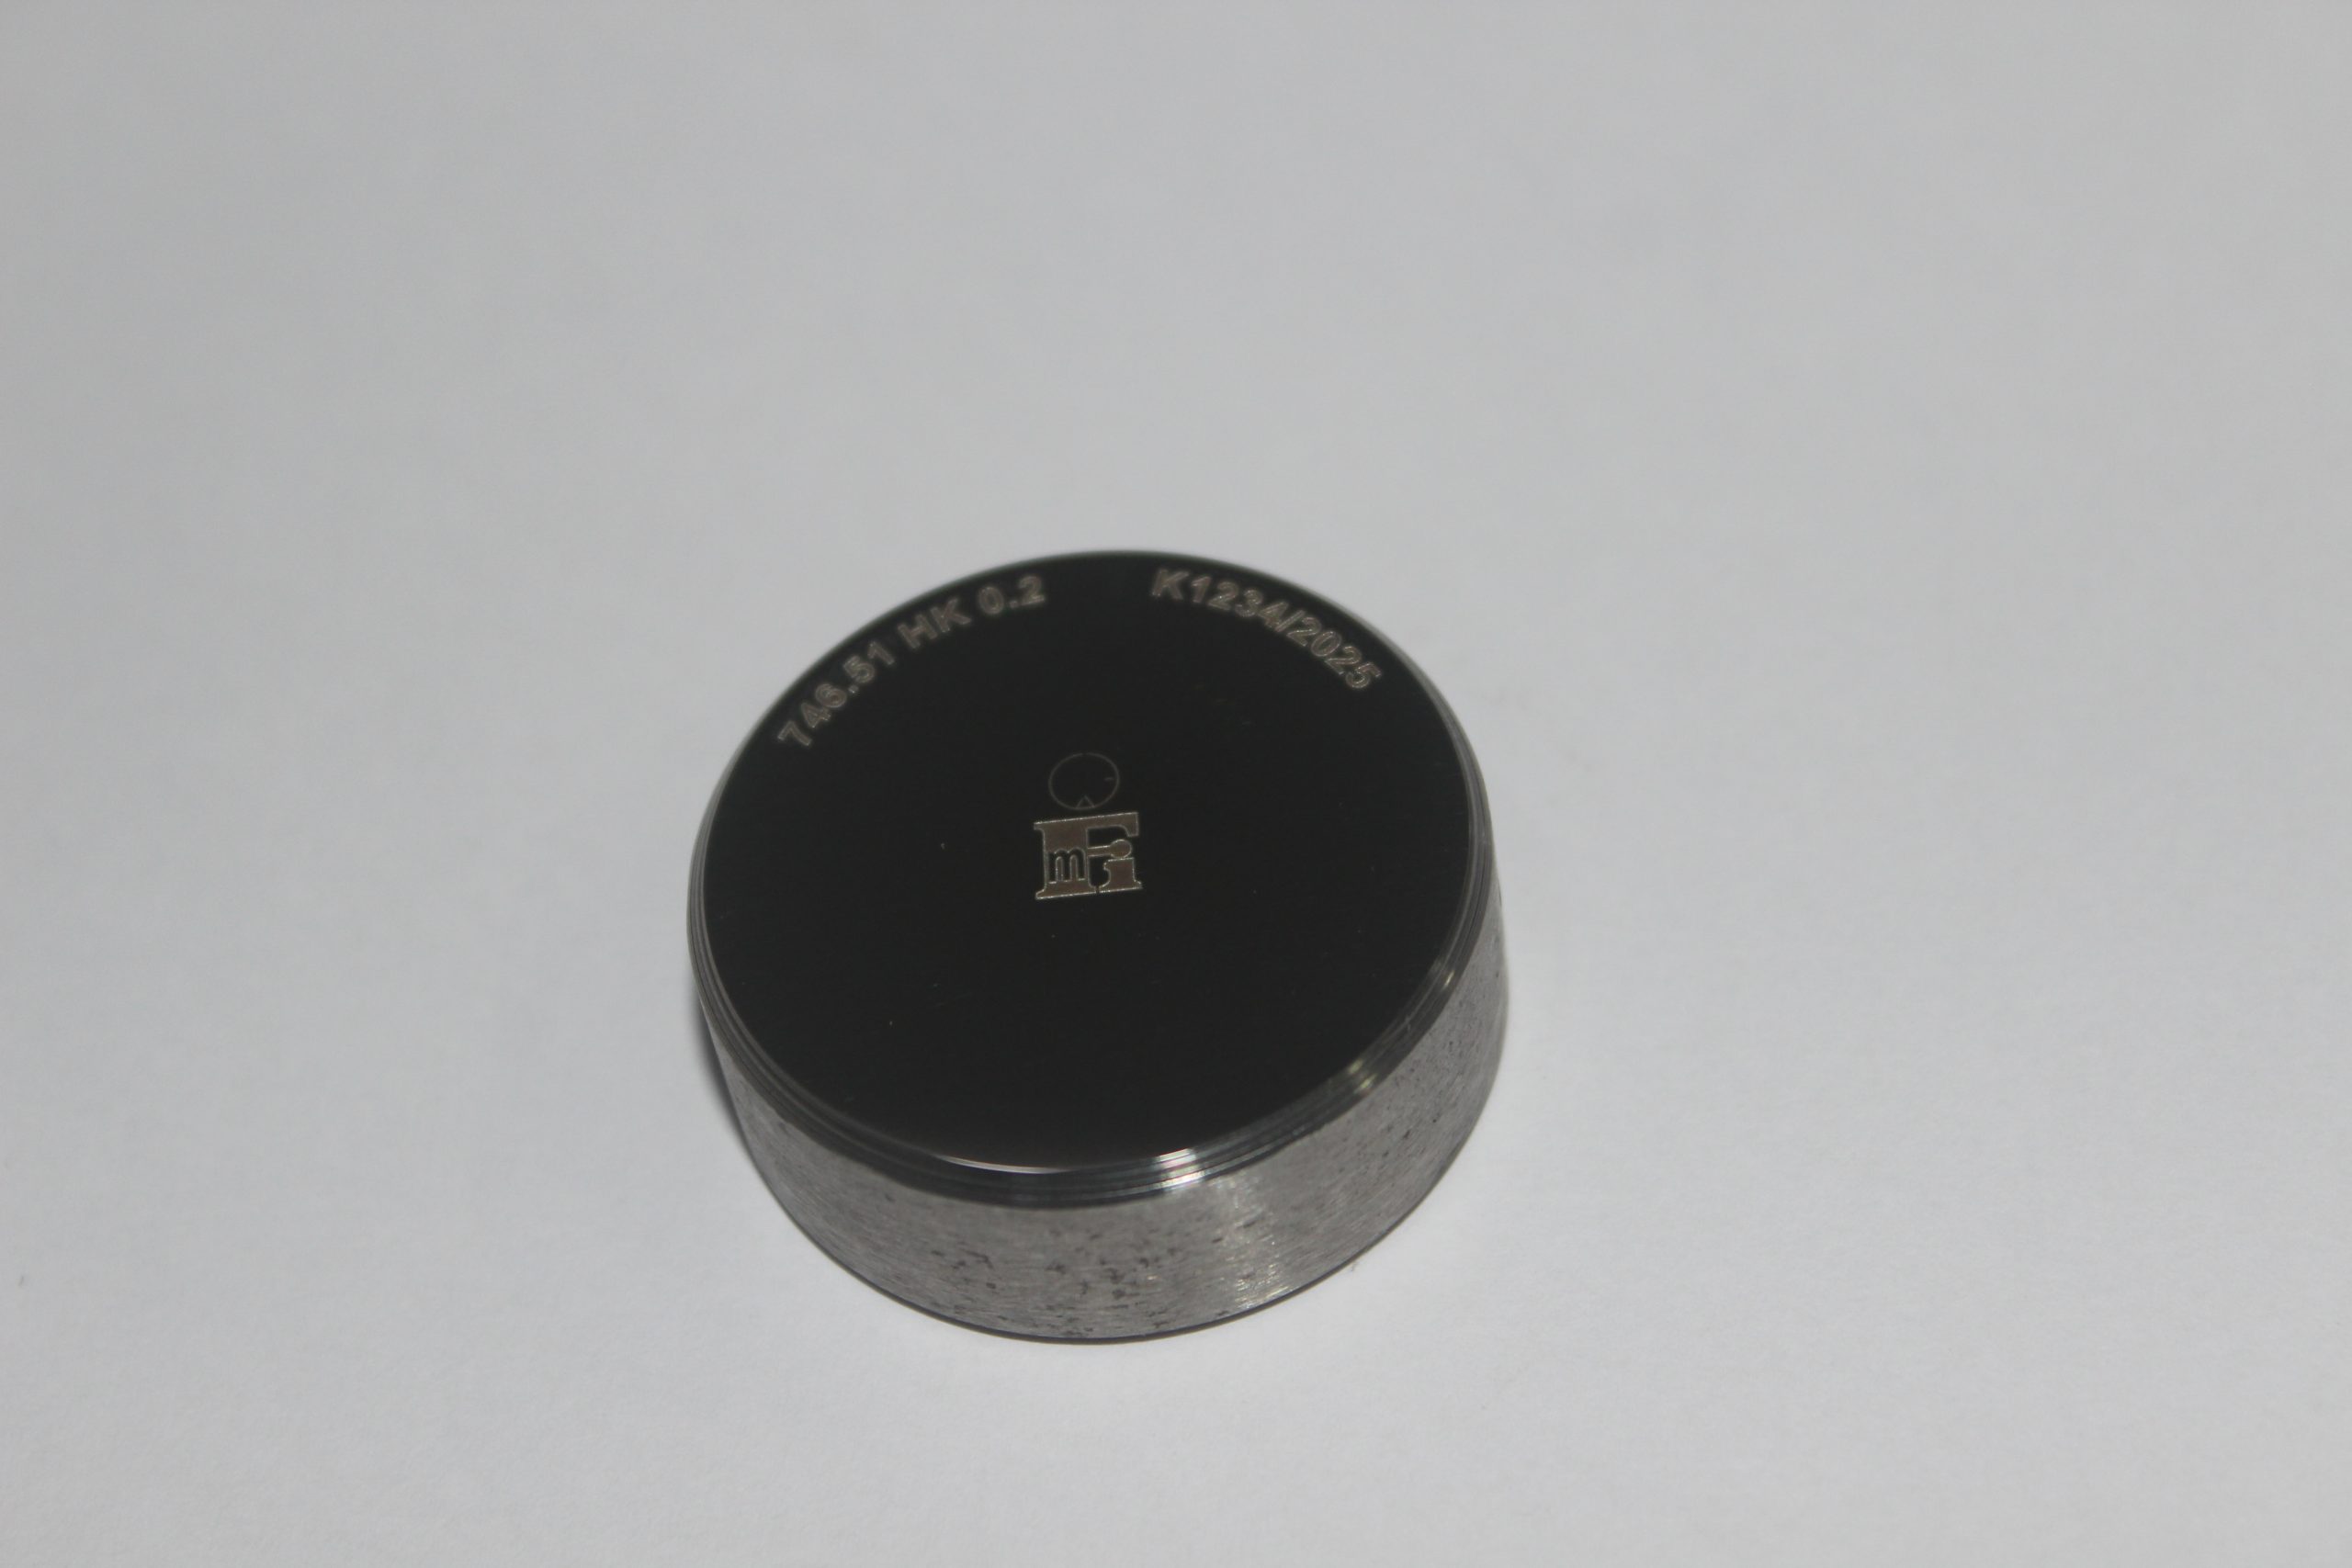
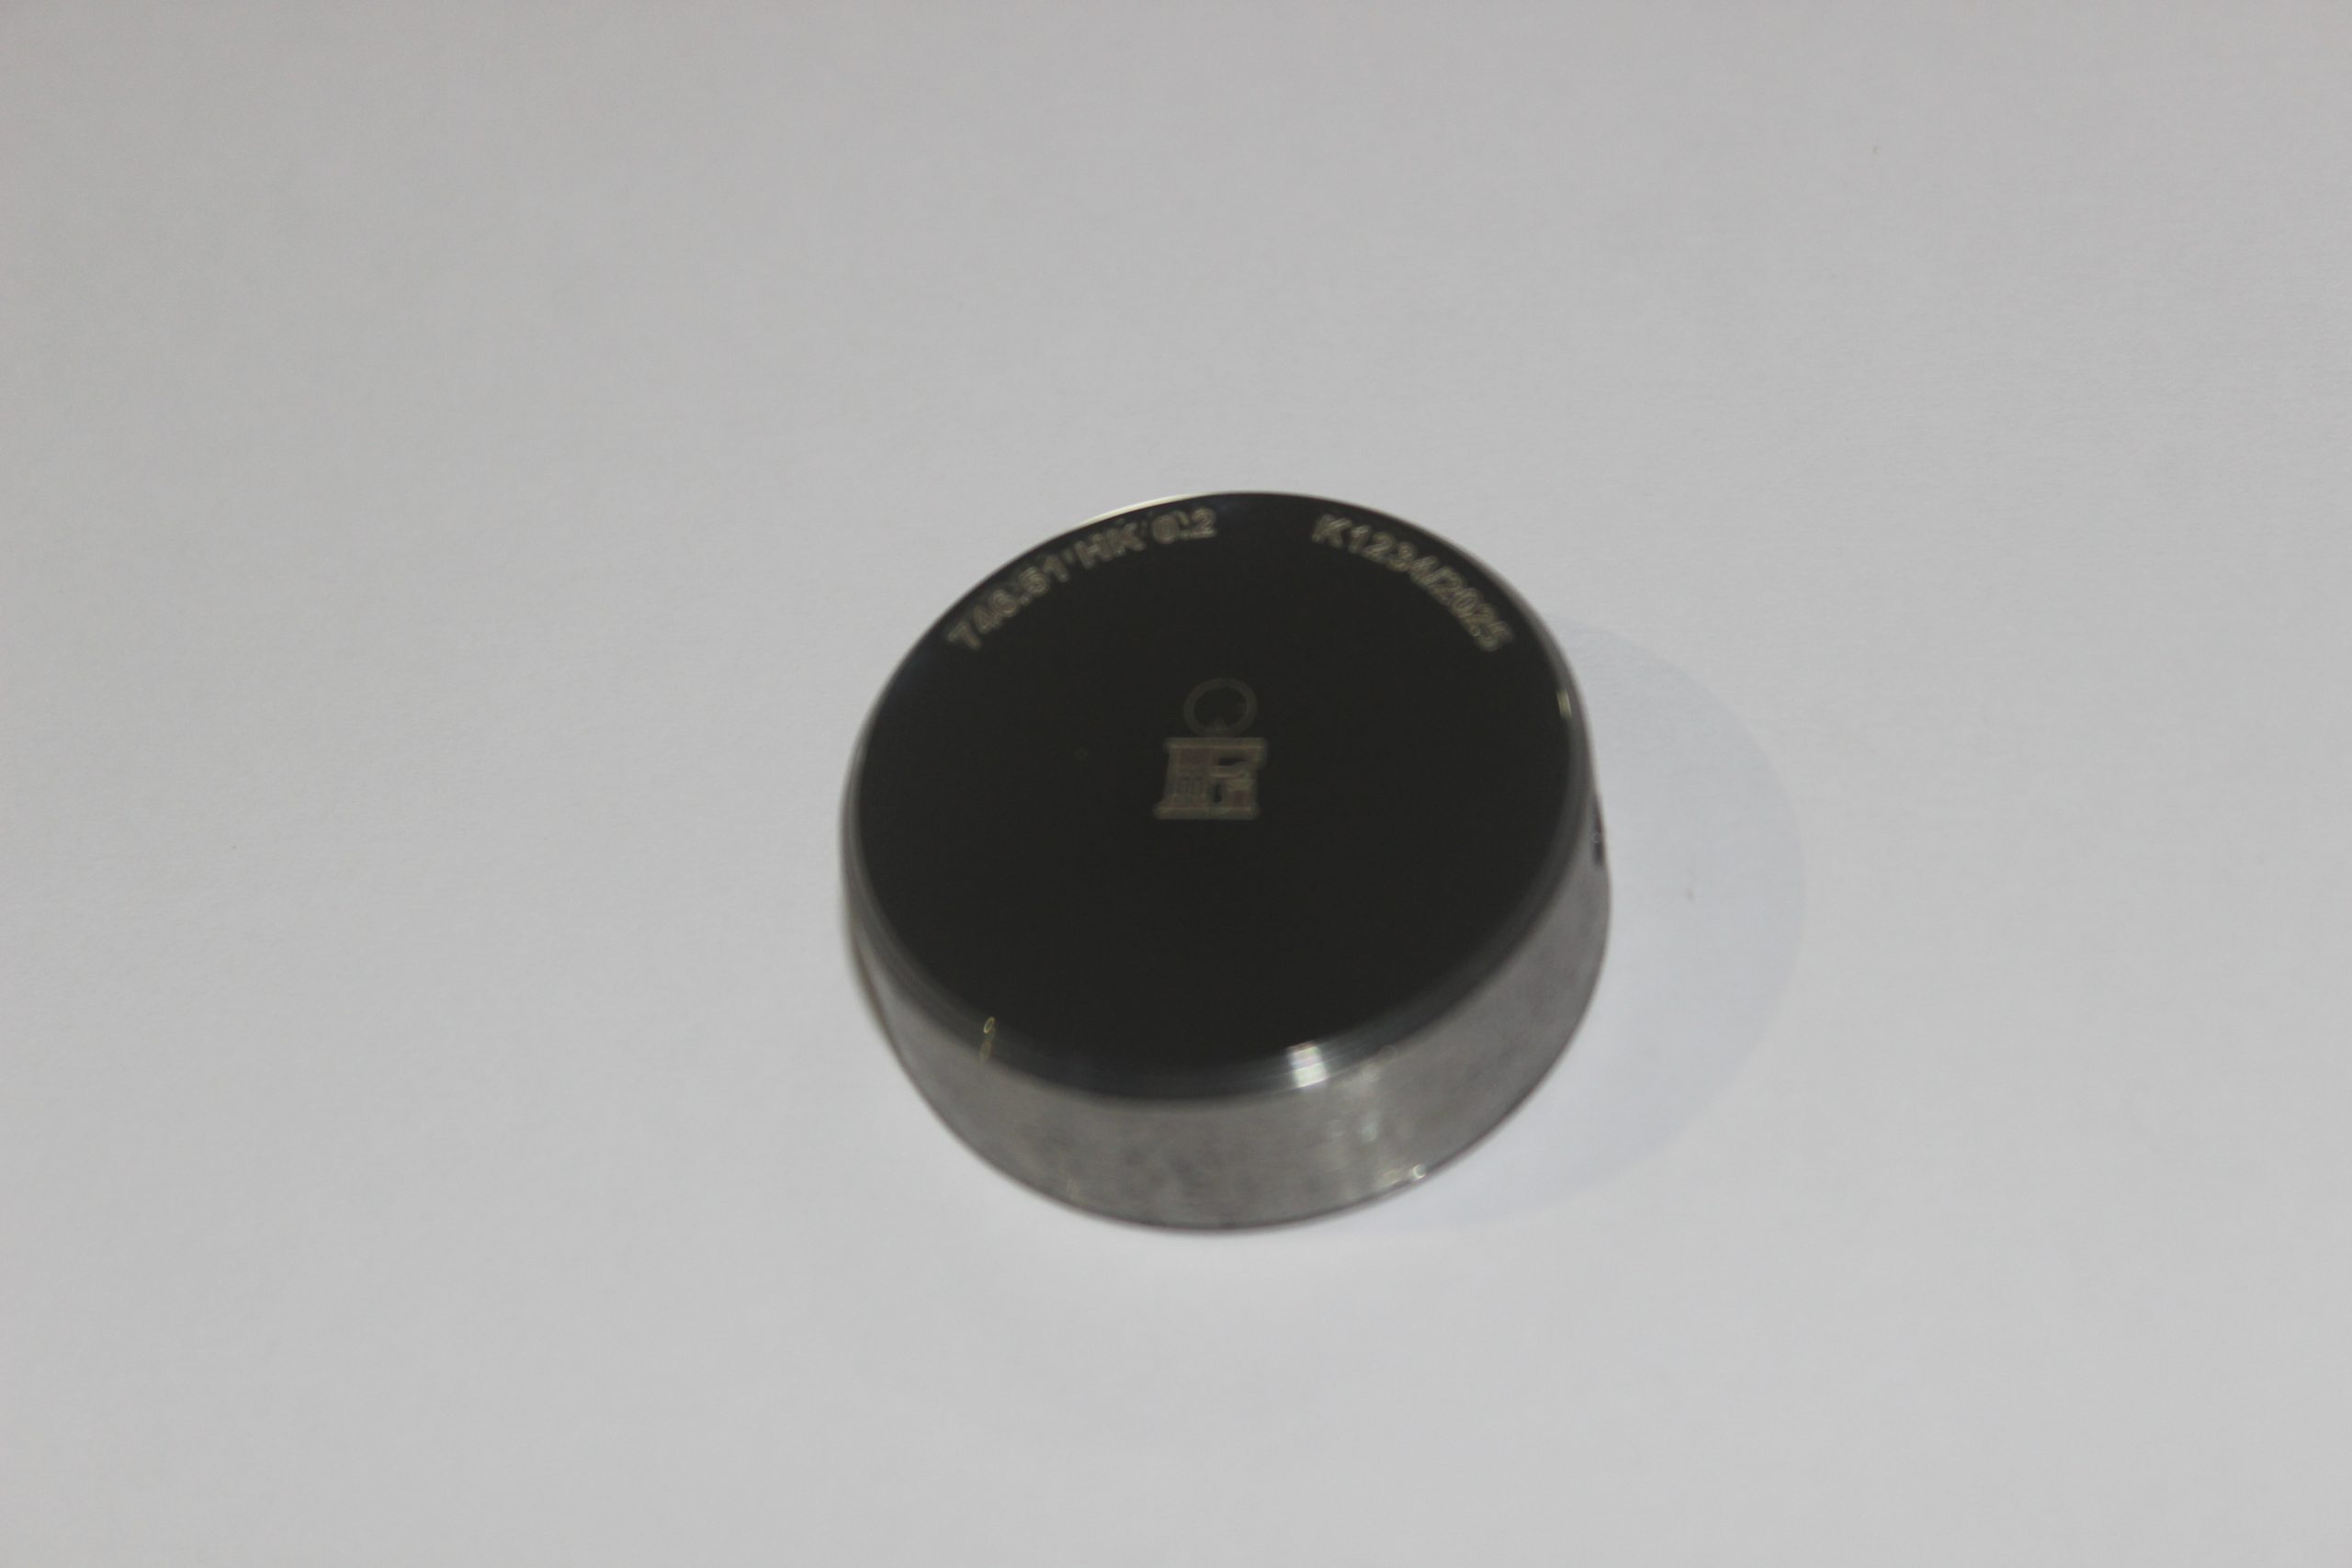
Calibrated as per As per IS 6885-3:2020, ISO 4545-3:2017 & ASTM E-92:2023, ASTM E-384:2022
Calibrated at Fine (Mirashi) calibration and testing Laboratories LLP, NABL accredited (ISO/IEC 17025:2017)
Specially curated high-quality steel, aluminium and brass material
Specially designed heat treatment and cryogenic treatment to achieve maximum long term hardness stability, consistency and repeatability
Mirror surface finish by grinding, lapping and diamond polishing
Calibration traceability: Vickers test blocks are calibrated using a standardising hardness testing machine which is directly and indirectly calibrated as per the requirements of As per IS 6885-3:2020, ISO 4545-3:2017 & ASTM E-92:2023, ASTM E-384:2022 using instruments traceable to SI system of units realised at NPL-India, NPL-UK, IMGC, NIST or PTB either directly or through NABL/UKAS/NVLAP/A2LA/DAkkS accredited laboratories.
LASER marking on the surface of hardness value, Serial number, lab logo and reference indent location.
Available in shapes: Φ36
Recommended key usage: Perform Indirect verification/calibration of hardness testers as per As per IS 6885-3:2020, ISO 4545-3:2017 & ASTM E-92:2023, ASTM E-384:2022, periodic quality control checks/intermediate checks, daily verifications, etc.

