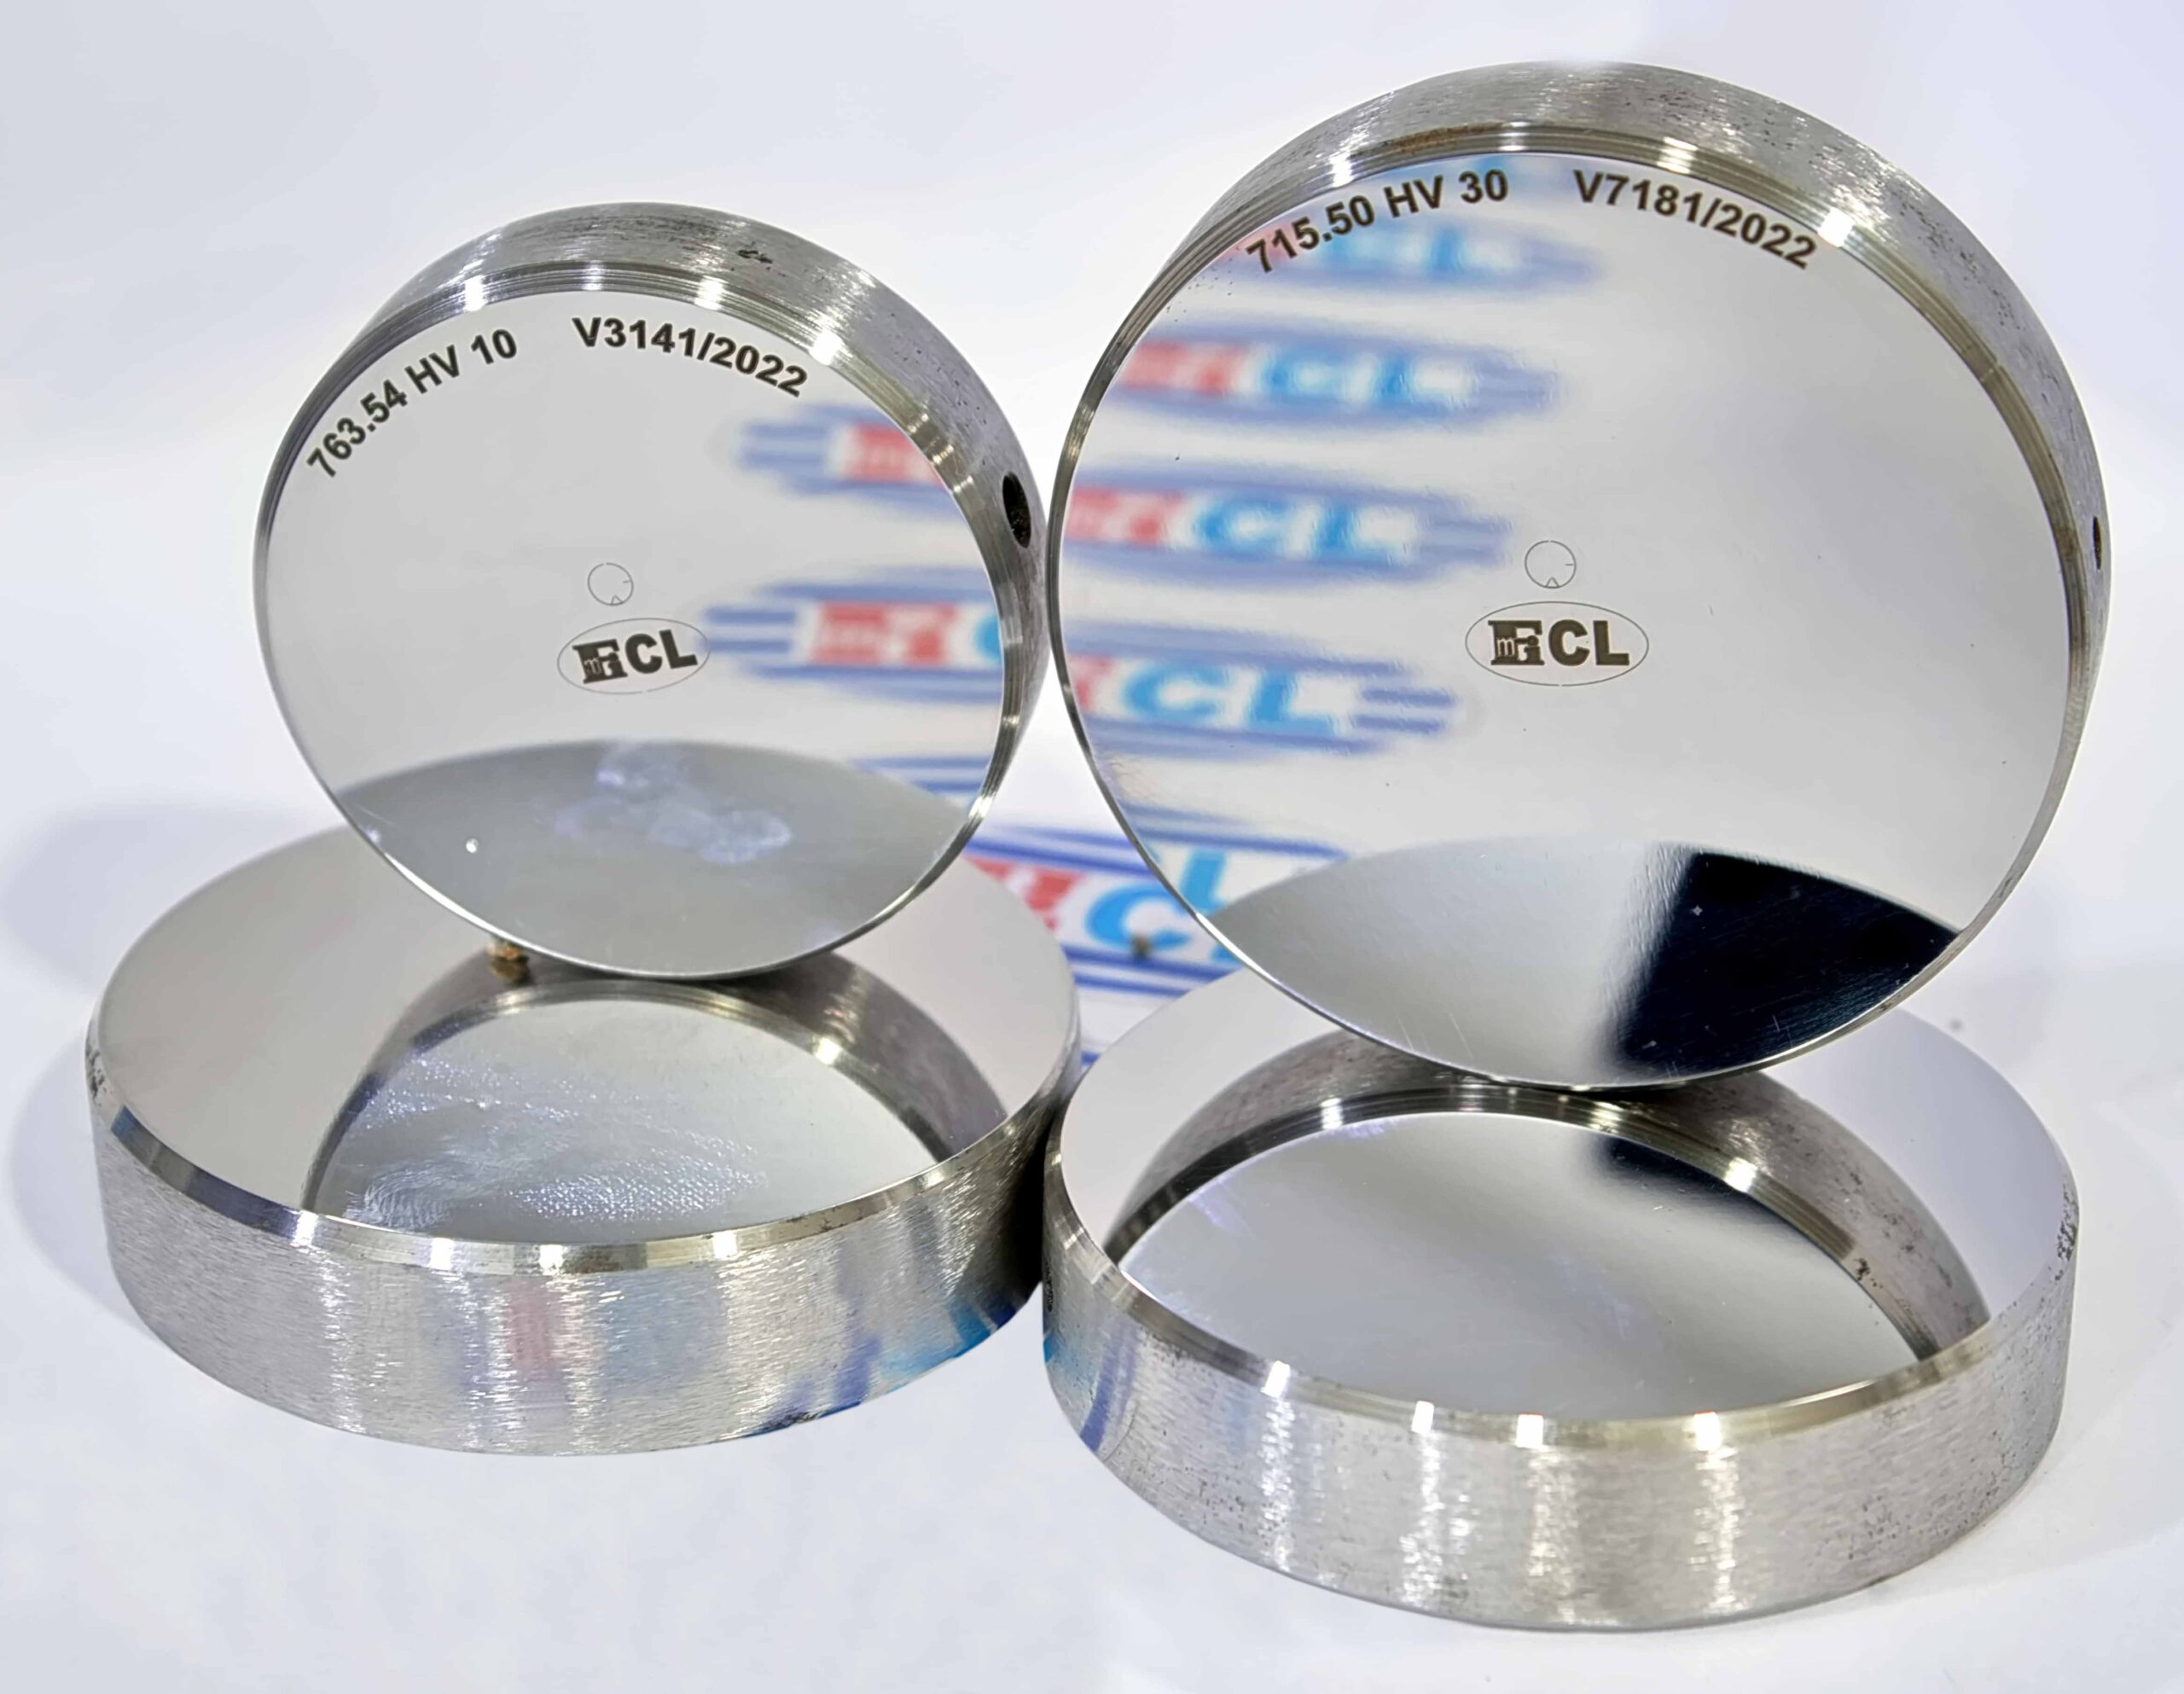
Standard Vickers Test Blocks
Features
- Calibrated as per ISO 6507-3, IS 1501 (Part 3) and/or ASTM E92 (Annex A4)
- Calibrated at Fmi Calibration Laboratory, NABL accredited (ISO/IEC 17025:2017)
- Specially curated high-quality steel, aluminium and brass material
- Specially designed heat treatment and cryogenic treatment to achieve maximum long term hardness stability, consistency and repeatability
- Mirror surface finish by grinding, lapping and diamond polishing
- Calibration traceability: Vickers test blocks are calibrated using a standardising hardness testing machine which is directly and indirectly calibrated as per the requirements of ISO 6507-3 and ASTM E92 annex A2; using instruments traceable to SI system of units realised at NPL-India, NPL-UK, IMGC, NIST or PTB either directly or through NABL/UKAS/NVLAP/A2LA/DAkkS accredited laboratories.
- LASER marking on the surface of hardness value, Serial number, lab logo and reference indent location.
- Optional hexagonal LASER grid marking
- Available in shapes: Φ50 mm and Φ64 mm
- Recommended key usage: Perform Indirect verification/calibration of hardness testers as per ISO 6507-2, IS 1501 (Part 2) or ASTM E92 annex A1, periodic quality control checks/intermediate checks, daily verifications, etc.
Available hardness scales and ranges as below
Standard Vickers Test Blocks | ||
Scale | Hardness Range | Material / Size |
HV-5,HV-10, HV-20, HV-30, HV-50 | 80-120 | Aluminium or brass / Dia 64 mm |
HV-5, HV-10, HV-20, HV-30, HV-50 | 120-200,200-300,300-400, 400-500,500-600,600-700,700-850 | Steel / Dia 64 & 50 mm |

